IkaScope
First measurement
Is this the first measurement with your IkaScope? You’re at the right place.
Is this the first measurement with your IkaScope? You’re at the right place.
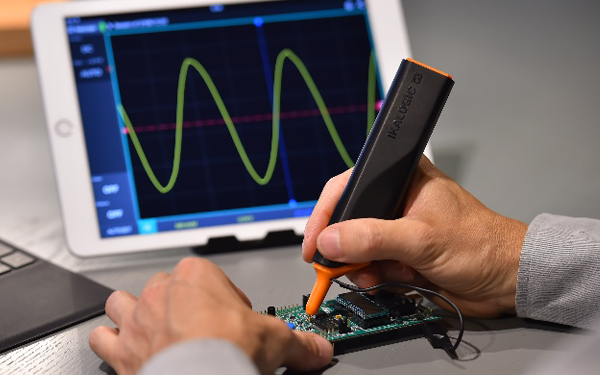
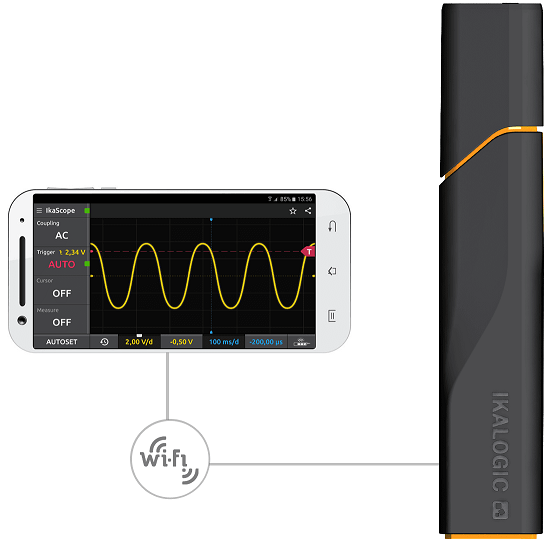
You do know that IkaScope is a pen shaped wireless oscilloscope that connects to almost any connected screen and streams captured signals through wifi. First download the app (iOS, Android, WIN, MacOS, LInux) for the platform you want to use IkaScope with.
Just press ProbeClick™ tip to power up your oscilloscope. IkaScope will automatically shut down after a while if you don’t use it. If it does not turn on, it may be totally discharged, in this case, please connect a USB cable to IkaScope’s charging port.
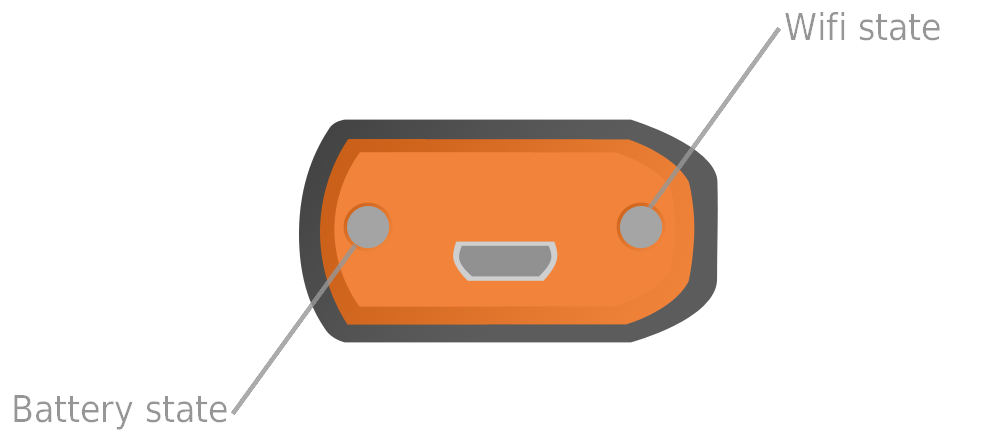
On the back of the product, you can see 2 LEDs that represent the status of IkaScope.
IkaScope has to be connected to the same wifi network as your connected screen in order to work. You can find detailed documentation here. Anyway, for the very first usage, IkaScope will create its own wifi network. The SSID of that network will begin with „IKASCOPE“ and end with the serial number of your IkaScope. Please connect to it.

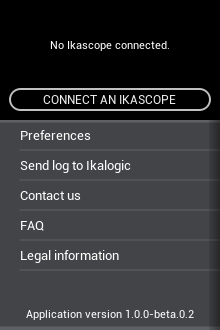
Launch the IkaScope application, open the top menu and click on Connect an IkaScope
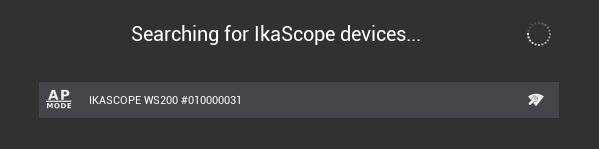
Just select your IkaScope from the list. You are now ready to measure!
Don’t forget to connect the ground clip. Press ProbeClick™ tip and keep it pressed. You can now begin your first measurements. Note: If you’re in Auto trigger mode, you have to keep the ProbeClick™ tip pressed for the screen to continuously refresh and display signals.
Read the others articles in the knowlegde base to manage IkaScope like a pro!